(Web Development Tutorial) How to Build an Inspirational Quotes Generator
Time to read: 31 min read
Introduction
While the bulk of my programming experience is in software engineering (C++) and data science (Python), through building my own website, I've learned a great deal about web development. I have come to appreciate the cool things you can accomplish with front-end frameworks and I really enjoy the design aspect of building websites.
I'm writing this tutorial to showcase the fundamentals of web development for beginners. This tutorial will touch on HTML/CSS, JavaScript, and jQuery; after completion, you'll have built a cool interactive web app which displays a random quote at the press of a button. The web app will also allow you to cycle through different backgrounds at a press of another button.
TIP
Throughout the tutorial I will post code snippets as well as explanations; I think the best way to learn is to play around with the code. Try modifying my code to see if anything changes/breaks.
Set-Up
You'll need a text editor to write your code and a web browser to see what you're building. I use Sublime Text 3 for text editing and Google Chrome for my browser. What you use is completely dependent on personal preference; I know many people who code in Notepad and the browser you're currently using is probably sufficient (unless you're using older versions of Internet Explorer).
Make a new folder which will contain the code of the project and drag the folder into Sublime.
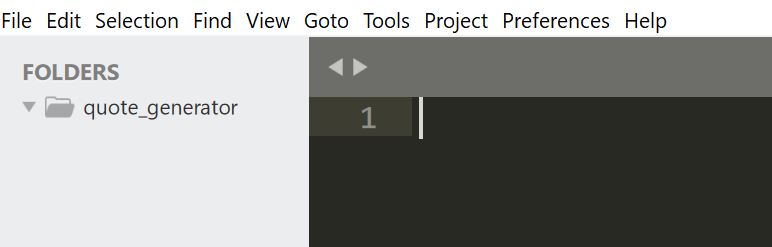 Your workspace should look something like this.
Now we will make three seperate empty files in that folder: index.html, javascript.js, and style.css. In Sublime, right click the folder on the sidebar and select "New File". A brand new page called "untitled" will be opened, save that file in the quote_generator folder and name it "index.html". Repeat the process for javascript.js and style.css.
- index.html will be where you'll define all the content that goes into your web page with HTML
- javascript.js will be where you'll program the behaviour of the web page with JavaScript and libraries
- style.css will be where you'll specify the layout and design of the web page with CSS
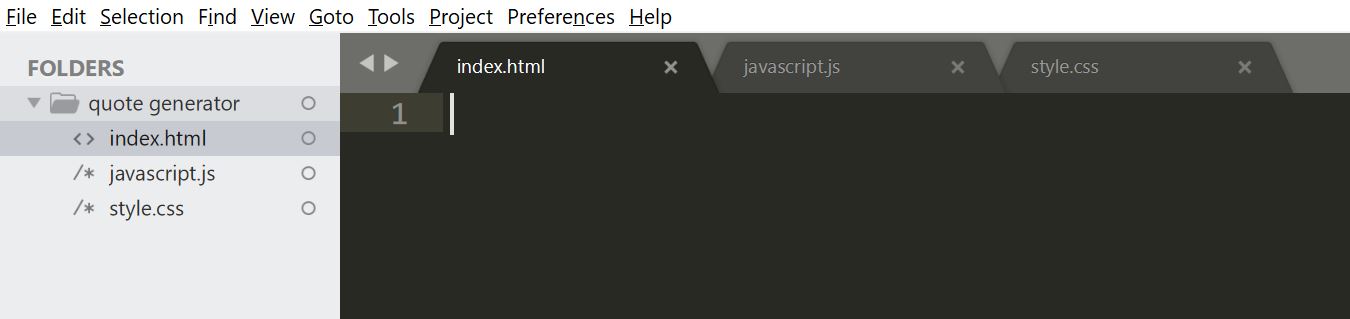 Your workspace should now look like this.
Getting Started with HTML
HTML Skeleton
Let's now make the basic parts of our website with HTML. Copy the following into your index.html file.
<!DOCTYPE html>
<html>

<head>
</head>

<body>
</body>

</html>
This is the basic frame for writing HTML; we'll add content to this frame as we progress through this tutorial. All HTML files must begin with <!DOCTYPE html>; this tells your browser what document type to expect. One thing you may have noticed is that there are many angle brackets; you may also have noticed that the angle brackets come in pairs; each <> is followed by a </> with the same text. These bracket pairs are known as tags; I think of them as containers which we will add content in. Almost all HTML files will have three main tags:
- html tag is the "root" of the document, all other HTML content must be within the html tag
- head tag is where we add non-content information, such as metadata and the title of the web page (basically anything that won't be rendered directly onto the web page)
- body tag is where we add the actual content of the page, such as images, text, and tables
If you tried to open the web page with your browser right now you'd get a blank page.
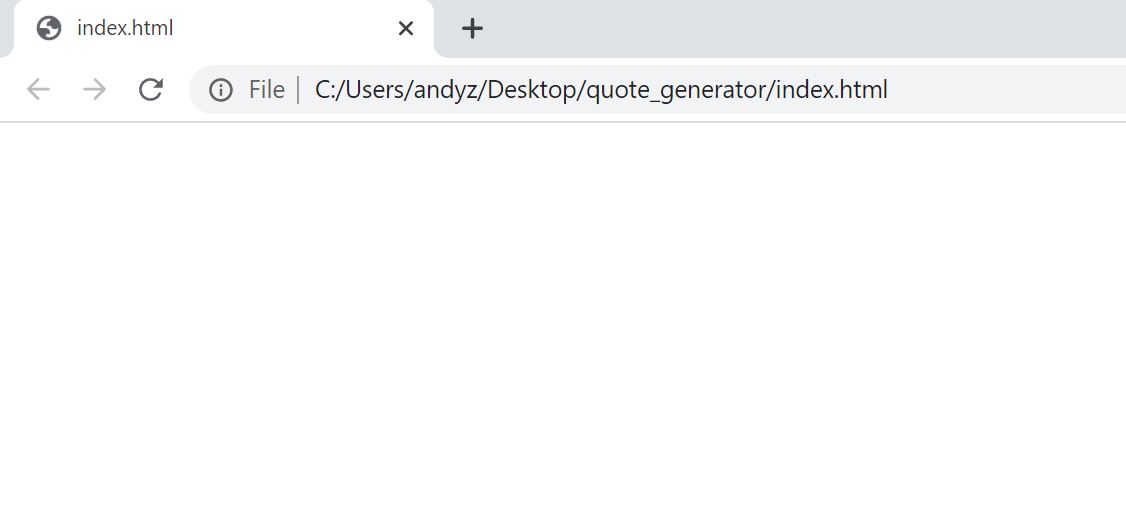 Blank page from just the HTML frame.
Page Title
Pretty boring right? Let's start adding some stuff. First, let's rename our website; typically when you access a website, a name will display on the tab; we can add a name with the title tag.
<!DOCTYPE html>
<html>

<head>
	<title>Quote Generator</title>
</head>

<body>
</body>

</html>
Notice how the title tag is added in the head tag container, as it's not directly rendered on the page. Notice also how the tags within a tag are indented; this will make your code easier to read. Now our website has a name.
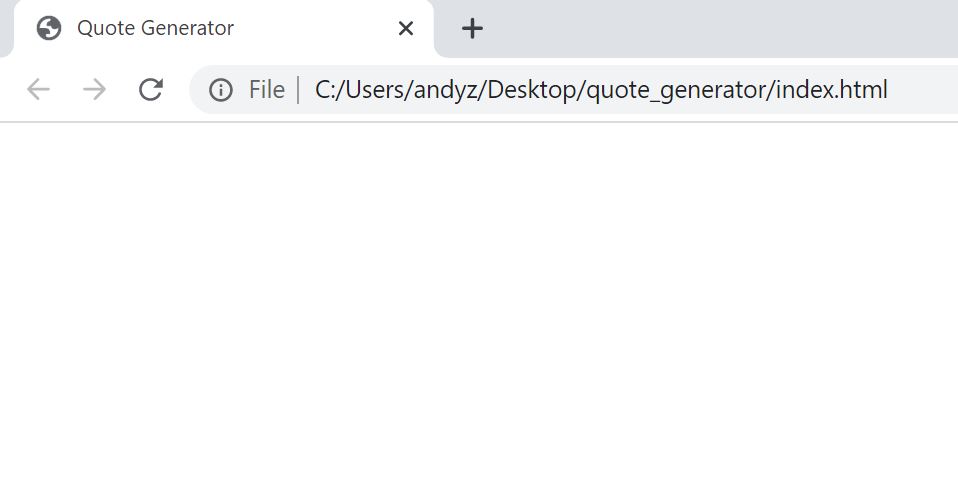 Blank page with a name.
You can add text to the page by just writing into the body.
<!DOCTYPE html>
<html>

<head>
	<title>Quote Generator</title>
</head>

<body>
	<h1>This is my first web project</h1>
</body>

</html>
It's always good practice to wrap different sections of content with a tag; in this case we used the h1 tag to indicate that the text is the first header of our web page. The tags allow javascript and css to target specific parts of the web page and allows for better organization.
 Page with text.
TIP
Try writing text without any tags within the body tag and try writing text outside the body tag. Does the text still show up?
Linking JavaScript File
For now, let's delete the header and set the stage for quotes to show up.
<!DOCTYPE html>
<html>

<head>
	<title>Quote Generator</title>
</head>

<body>
	<script src="javascript.js"></script>
	<div id="retrievedQuote">
	</div>

	<button onclick="getQuote()">New Quote</button>
</body>

</html>
We added a script tag; this allows us to reference an outside source for JavaScript code; this HTML file will now execute the code from javascript.js.
We also added a div tag for referencing a division or section; the quote will show up in the tag. We also gave tag an id attribute; this id is unique for this tag; this means that no other tag can have the same id. If we reference the id, then only the tag with the id will be affected.
Finally, we added a button tag; this defines a clickable button object. The button currently does not do anything when we click it, but we will be adding functionality with JavaScript.
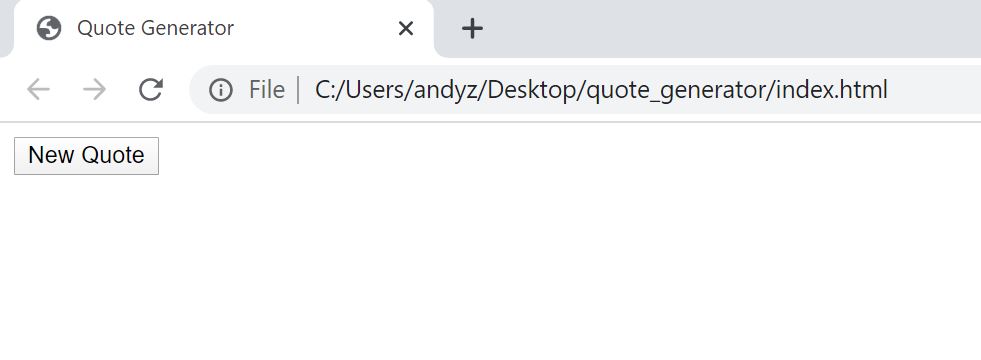 Blank page with button.
Let's now take a look at the javascript.js file.
Building Content Functionality with JavaScript
Storing the Quotes
JavaScript will give our button a function; something should happen when we click the button. We want that something to be a new quote being displayed. Let's first find some quotes; once we have the quotes we'll need a structure to store the quotes. We're using an array; an array allows us to store multiple values (in this case multiple quotes) in a single structure.
// array of quotes
var quotes = [
'Do or do not ... there is no try. <br>- Yoda (Star Wars)',
'At some point in life, the world\'s beauty becomes enough. <br>- Toni Morrison',
'To a mind that is still the whole universe surrenders. <br>- Lao Tzu',
'Sleep is good, he said, and books are better. <br>- George R. R. Martin',
'If you look at what you have in life, you\'ll always have more. <br>- Oprah Winfrey',
'Why was I born, if it wasn\'t forever? <br>- Eugène Ionesco (Exit the King)',
'Do not let circumstances control you. You change your circumstances. <br>- Jackie Chan',
'When you have a dream, you\'ve got to grab it and never let go. <br>- Carol Burnett'
]
The var statement declares a variable; you can think of variables as containers which store information. Each quote is stored as a string, which is a sequence of characters. We are storing all of these strings into the variable quote. Each string is encased in single qoutes, and all strings are sperated with a comma.
The quotes will also most likely have to be modified for correct display in the browser; for example, apostrophes have to be prefaced with a backslash and a <br> is added to break the line.
The double slash // indicates a comment; these are meant to be read by humans and will not affect the code when it's run.
TIP
It's generally good practice to leave comment explanations throughout your code for subsequent readers to see.
Remember our goal; we want our page to display a new random quote everytime we click the button. How should we accomplish this?
Buiding Functionality Between JavaScript and HTML
First, let's build the function which runs everytime the button is clicked; a function is basically a series of instructions; in this case, we want the series of instructions to be run everytime the button is clicked.
// array of quotes
var quotes = [
'Do or do not ... there is no try. <br>- Yoda (Star Wars)',
'At some point in life, the world\'s beauty becomes enough. <br>- Toni Morrison',
'To a mind that is still the whole universe surrenders. <br>- Lao Tzu',
'Sleep is good, he said, and books are better. <br>- George R. R. Martin',
'If you look at what you have in life, you\'ll always have more. <br>- Oprah Winfrey',
'Why was I born, if it wasn\'t forever? <br>- Eugène Ionesco (Exit the King)',
'Do not let circumstances control you. You change your circumstances. <br>- Jackie Chan',
'When you have a dream, you\'ve got to grab it and never let go. <br>- Carol Burnett'
]
// generate a random quote
function getQuote() {
}
You may have noticed that at the end of functions there is an empty bracket (). This is because the function does not take in any variables; some functions take in variables as arguments; for those functions, the () will not be empty and will instead contain the variable that the function operates on.
What series of instructions will allow us to generate a random quote?
We can reference a string based on its index, which startes at 0. For example, quotes[0] references the first quote in the quotes array. Arrays also have certain pre-built properties; if we want to find the length of the quotes array, we can use quotes.length. The goal is to generate a random valid index (between 0 and the length of the quotes array minus 1) and use that index to reference a quote.
We can generate such a random number by the following.
var rand = Math.random();
Math.random() generates a random value between 0 and 1 (including 0 and excluding 1); the generate value is then stored in the variable rand. Notice that there is a semi-colon; for many languages including JavaScript, you need to write a semi-colon at the end of each instruction to indicate that the instruction has ended.
We want the random number to be a valid index between 0 and the quotes array minus 1 (since indexing for arrays begin at 0).
var rand = Math.random() * (quotes.length);
Now Math.random() generates a random value between 0 and 1 and that value is multiplied by the length of the quotes array. The value is then stored in rand. This means that rand now contains values from 0 up to, but excluding, the length of the quotes array. The integer part of rand is a valid index.
var rand = Math.floor(Math.random() * (quotes.length));
We take the floor of the number because indices are integers. By taking the floor, we essentially round down each number to the closest integer. For example, if the result is 5.8, when we floor it, the result becomes 5.
The variable rand now contains a randomly generated index that is valid with regards to the quotes array. The index can be used to retrieve a random quote from the quotes array.
var rand = Math.floor(Math.random() * (quotes.length));
quotes[rand];
How do we get this quote to show up on our main web page?
We can reference the HTML document through the Document Object Model, or DOM. There are many variations of DOM and different ways to use DOM, but for our purposes we just have to understand that JavaScript treats a web page like a document, and it can access and modify different parts of the web page document.
document.getElementById('retrievedQuote').innerHTML;
The above code snippet references the HTML content contained within the tag with the id = 'retrievedQuote'. Combining it with our previous snippet with the random index we get:
// generate a random quote
function getQuote() {
	var rand = Math.floor(Math.random() * (quotes.length));
	document.getElementById('retrievedQuote').innerHTML = quotes[rand];
}
Our function getQuote() first generates a random and valid index rand, then it sets the HTML content contained within the tag with the id = 'retrievedQuote' to the quote indexed by rand.
Our javascript.js should look like this:
// array of quotes
var quotes = [
'Do or do not ... there is no try. <br>- Yoda (Star Wars)',
'At some point in life, the world\'s beauty becomes enough. <br>- Toni Morrison',
'To a mind that is still the whole universe surrenders. <br>- Lao Tzu',
'Sleep is good, he said, and books are better. <br>- George R. R. Martin',
'If you look at what you have in life, you\'ll always have more. <br>- Oprah Winfrey',
'Why was I born, if it wasn\'t forever? <br>- Eugène Ionesco (Exit the King)',
'Do not let circumstances control you. You change your circumstances. <br>- Jackie Chan',
'When you have a dream, you\'ve got to grab it and never let go. <br>- Carol Burnett'
]
// generate a random quote
function getQuote() {
var rand = Math.floor(Math.random() * (quotes.length));
document.getElementById('retrievedQuote').innerHTML = quotes[rand];
}
Now, everytime you press the button, a new quote shows up.
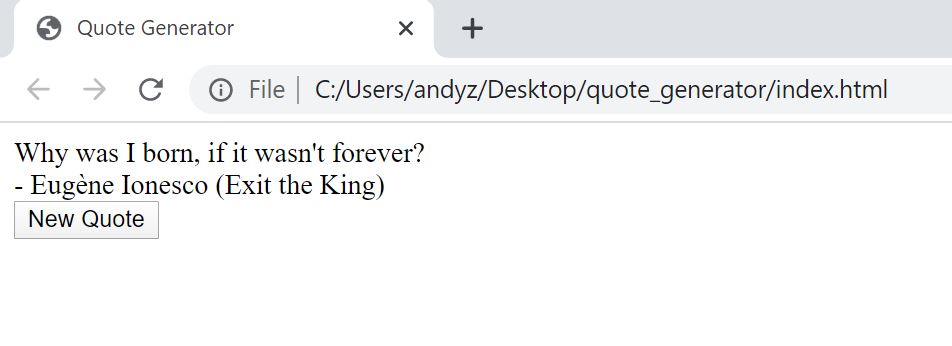 Blank page with working quote button.
Quote Generation Finishing Touches
WARNING
One issue with our current implementation is that every time we load the page in our browser, there is no quote loaded. The first quote only loads when we press the button for the first time.
We can fix the above issue by adding the following HTML snippet to our body tag:
<body onload="getQuote()">
This allows the getQuote() function to automatically run everytime the browswer is loaded.
WARNING
Another issue that we may run into is the possibility that when we randomly generate a new index, it may have the same value as the old index. This causes the web page to display the same quote two times in a row. How can we solve this? Can we mitigate this?
Now that we have a functional quote button, let's make our website more aesthetically appealing.
Designing Web Page with CSS
Linking CSS File to HTML
Right now our website looks very plain; let's add some design aspects to make it prettier. In most cases, you'll be specifying the design of your website with CSS. Add the below snippet of code into your head tag in index.html.
<link rel="stylesheet" href="style.css">
This links your HTML file with style.css; now everything we write in the CSS file will be reflected in the HTML file. Let's start by changing the design of the entire page in style.css. We'll first need to download several images with adequate definition to use as background. This is where design comes in; you should ideally find images which aren't too "busy" and won't draw too much attention away from your actual content (the text quote). I use Pexel for free stock photos. Make a new folder in the quote_generator folder for all of your backgrounds titled images.
 Background images I've selected.
Designing Web Page Background
Now let's add some design to our web page in style.css.
body {
	color: #f8f8ff;
	background: url('images/background12.jpg') no-repeat;
	background-size: cover;
	text-align: center;
	background-attachment: fixed;
}
In CSS, when we change something we have to reference the HTML tag of the content we are trying to change; in this case we are referencing the entire body tag.
You can think of each tag element as a container, and CSS allows you to change both the properties of the container, as well as the properties of the content within the container. Let's go through each of the properties we used.
color changes the color of the content within the body tag (in this case it changes the color of the quote text); color can be represented with generic descriptors such as 'red' or 'blue'; color can also be represented in hex.
TIP
This hex colour is an off shade of white; typically you want to experiment with different shades instead of using just the generic colours like 'white'.
background changes the background of the body tag container; in this case we are specifying that the background should be the image background12.jpg located within the images folder. The no-repeat property specifies that the background image will only be shown once.
background-size specifies the size of the background image; in this case we want the image to be cropped to cover the entire page.
text-align, much like in text editors such as Microsoft Word, this property specifies how text will be shown; in this case we want our qoute text to be aligned at the center of the page.
background-attachment determines whether the background image scrolls with the rest of the page; in this case we want the image to be fixed.
TIP
I think working with CSS is one of those instances where it really pays to explore and play around with all the properties. You'll be able to visually see what each property accomplishes.
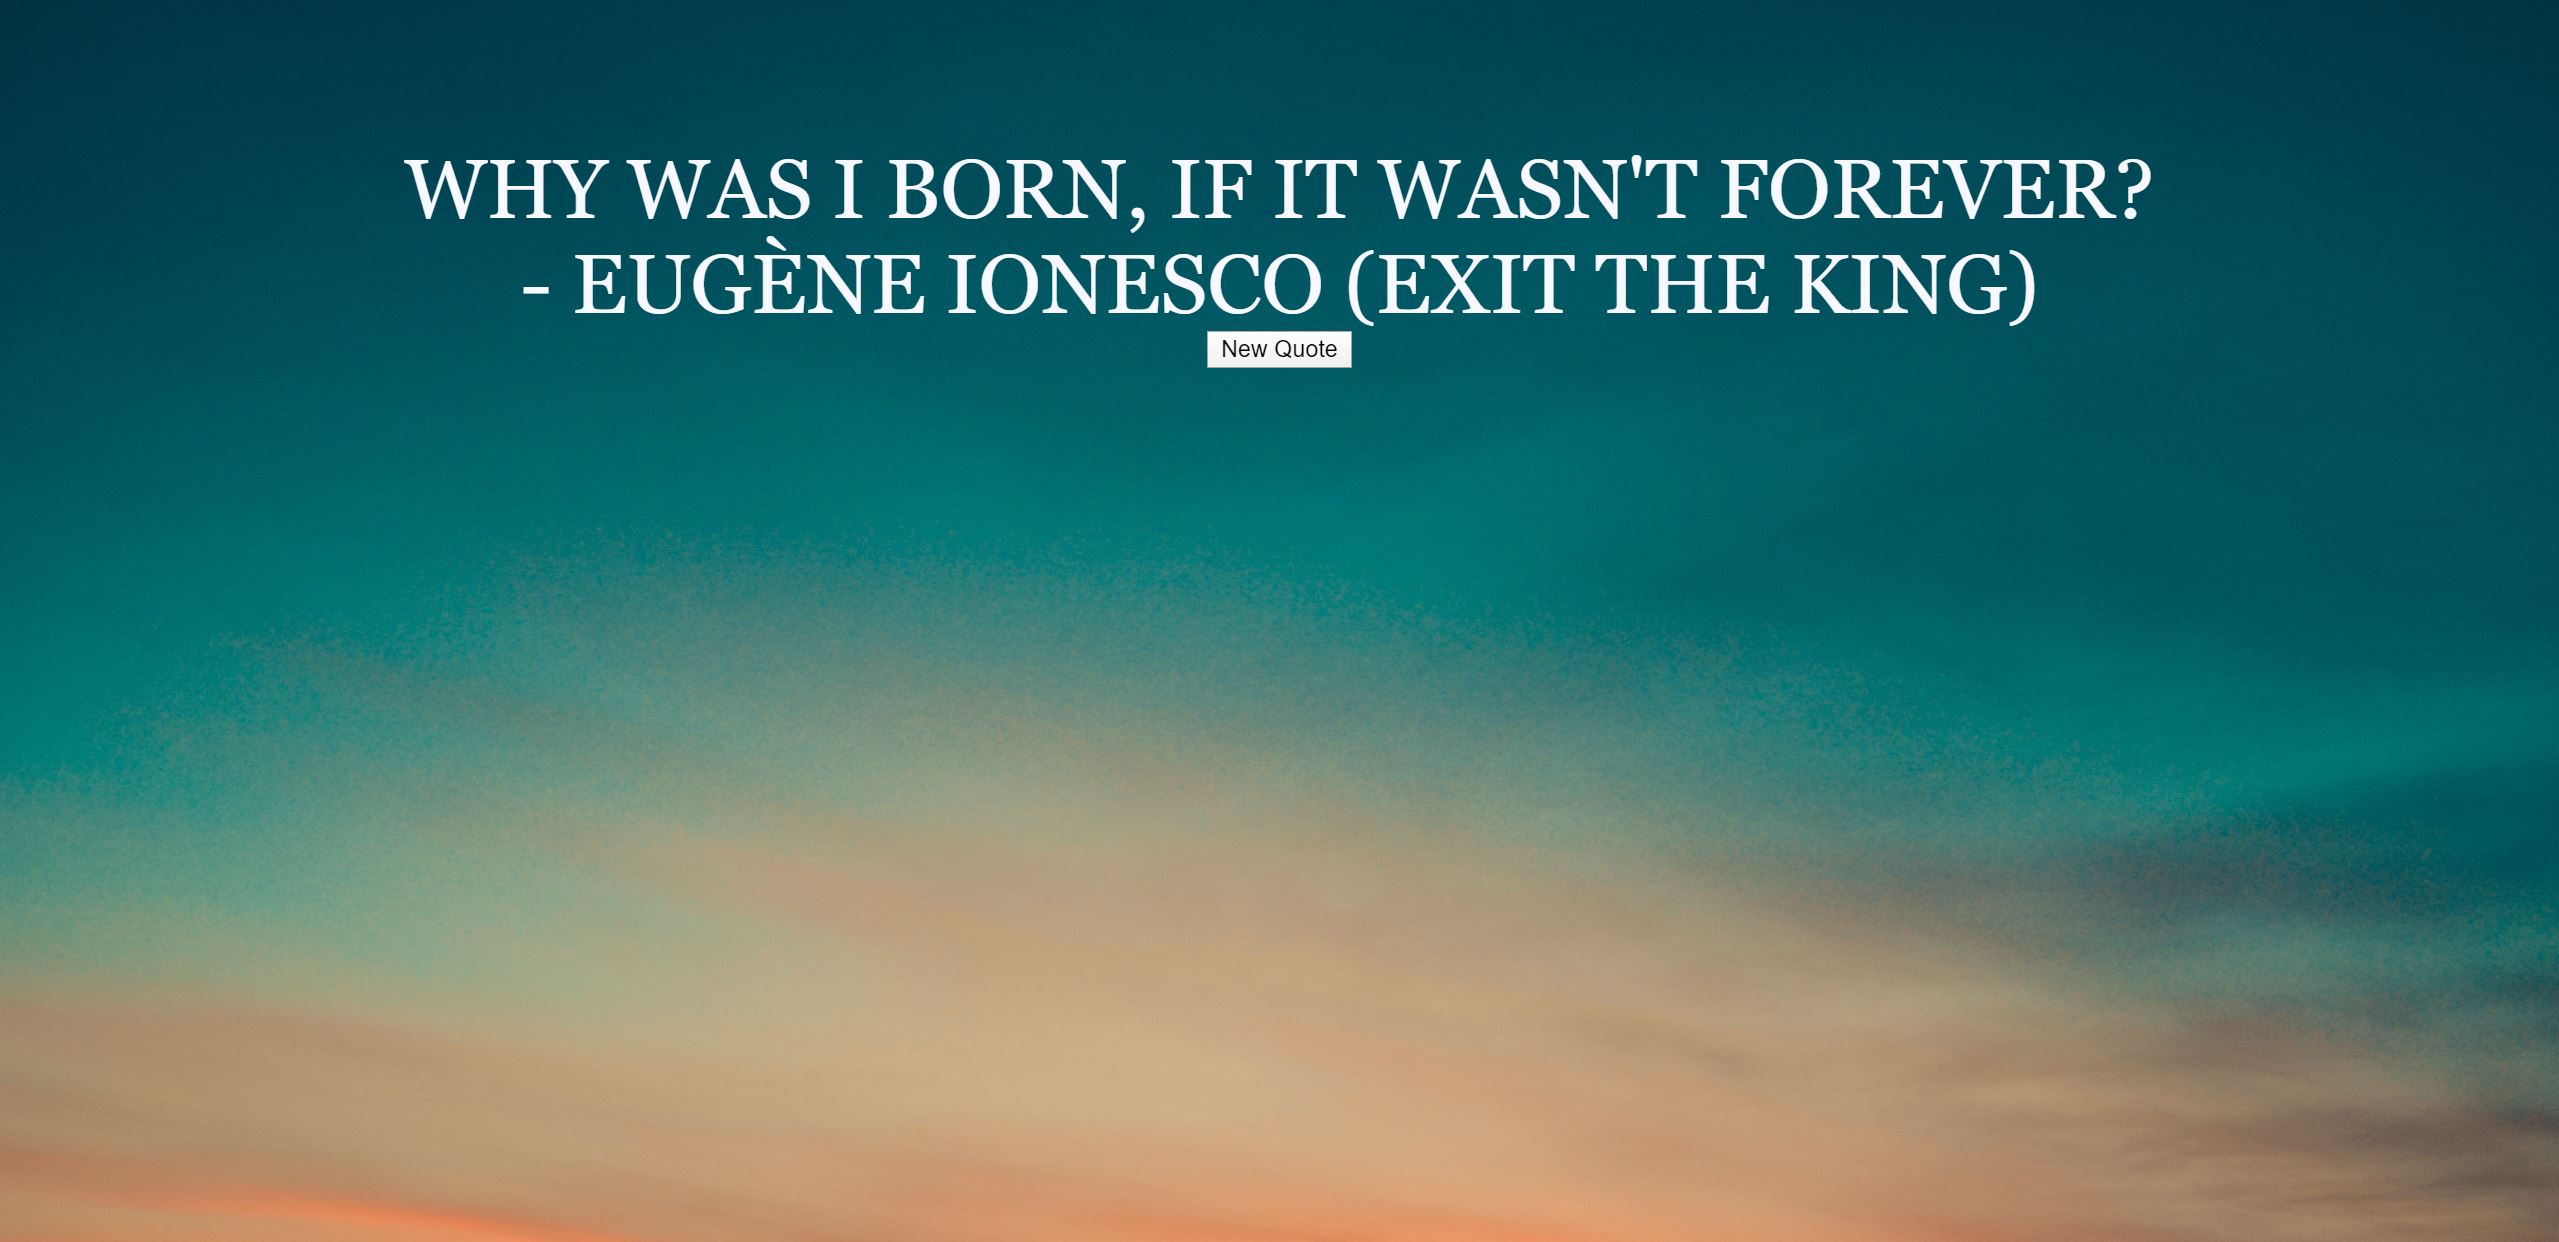
 Web page with background.
Designing Text
Our site is starting to look better; let's add some design for the quote text as well.
#retrievedQuote {
	padding-top: 5%;
  	font-size: 3em;
	font-family: "Cinzel Decorative", Georgia, serif;
	text-transform: uppercase;
	max-width: 80%;
	display: inline-block;
}
Since retrievedQuote is an id, it is referenced with #. Notice how since retrievedQuote is altered by the properties in body; this is because retrievedQuote is located in the body container. There is a hierarchy; if there are conflicting properties in retrievedQuote and body, retrievedQuote will take precedence. In this case body is said to be the parent element of retrievedQuote.
padding-top specifies the top padding of the container (how far from the top the actual content of the container is); it can be expressed in length units (such as pixels and cm) and in percent of the width of the element; in this case, we are essentially moving down the quote text towards the center of the page.
font-size specifies how large the font is; there are multiple ways it can be expressed, such as with descriptions such as 'large' and 'medium', with a percentage which dictates the size as a percent of the font size of the parent element, or with specific units (such as pixels and cm). In our case we are using em (called ems); an em is a scalable font-size which is equal to the current font-size (the default em is equal to 16px, so 1em is equal to 16px).
font-family specifies the font of the text; usually we start with a specific family name, in this case a font called Cinzel Decorative, and if that font is not supported for some reason, our backup font is Georgia. Finally, if neither of the two previous fonts are available, we let the browser pick a font from the generic serif font family.
text-transform controls the capitalization of the text; in this case we want our text to only be uppercase.
max-width controls how wide we want the container to be in the context of the parent container; in this case we want our quote to only take up 80% of the total web page.
display specifies how an element is rendered; in this case we are rendering our quote as an inline element, but we can control the height and width values. An inline element essentially does not disrupt the "flow" of other elements; examples are shown here.
TIP
I found the display property to not be as intuitive as the other properties, mainly because you may not be able to easily view the changes. I'd recommend reading this guide for a better idea on how it works.
TIP
Due to retrievedQuote being located within body, many of the properties in the retrievedQuote CSS block, such as font-size and font-family can also be described in the body CSS block, and will be inherited by retrievedQuote.
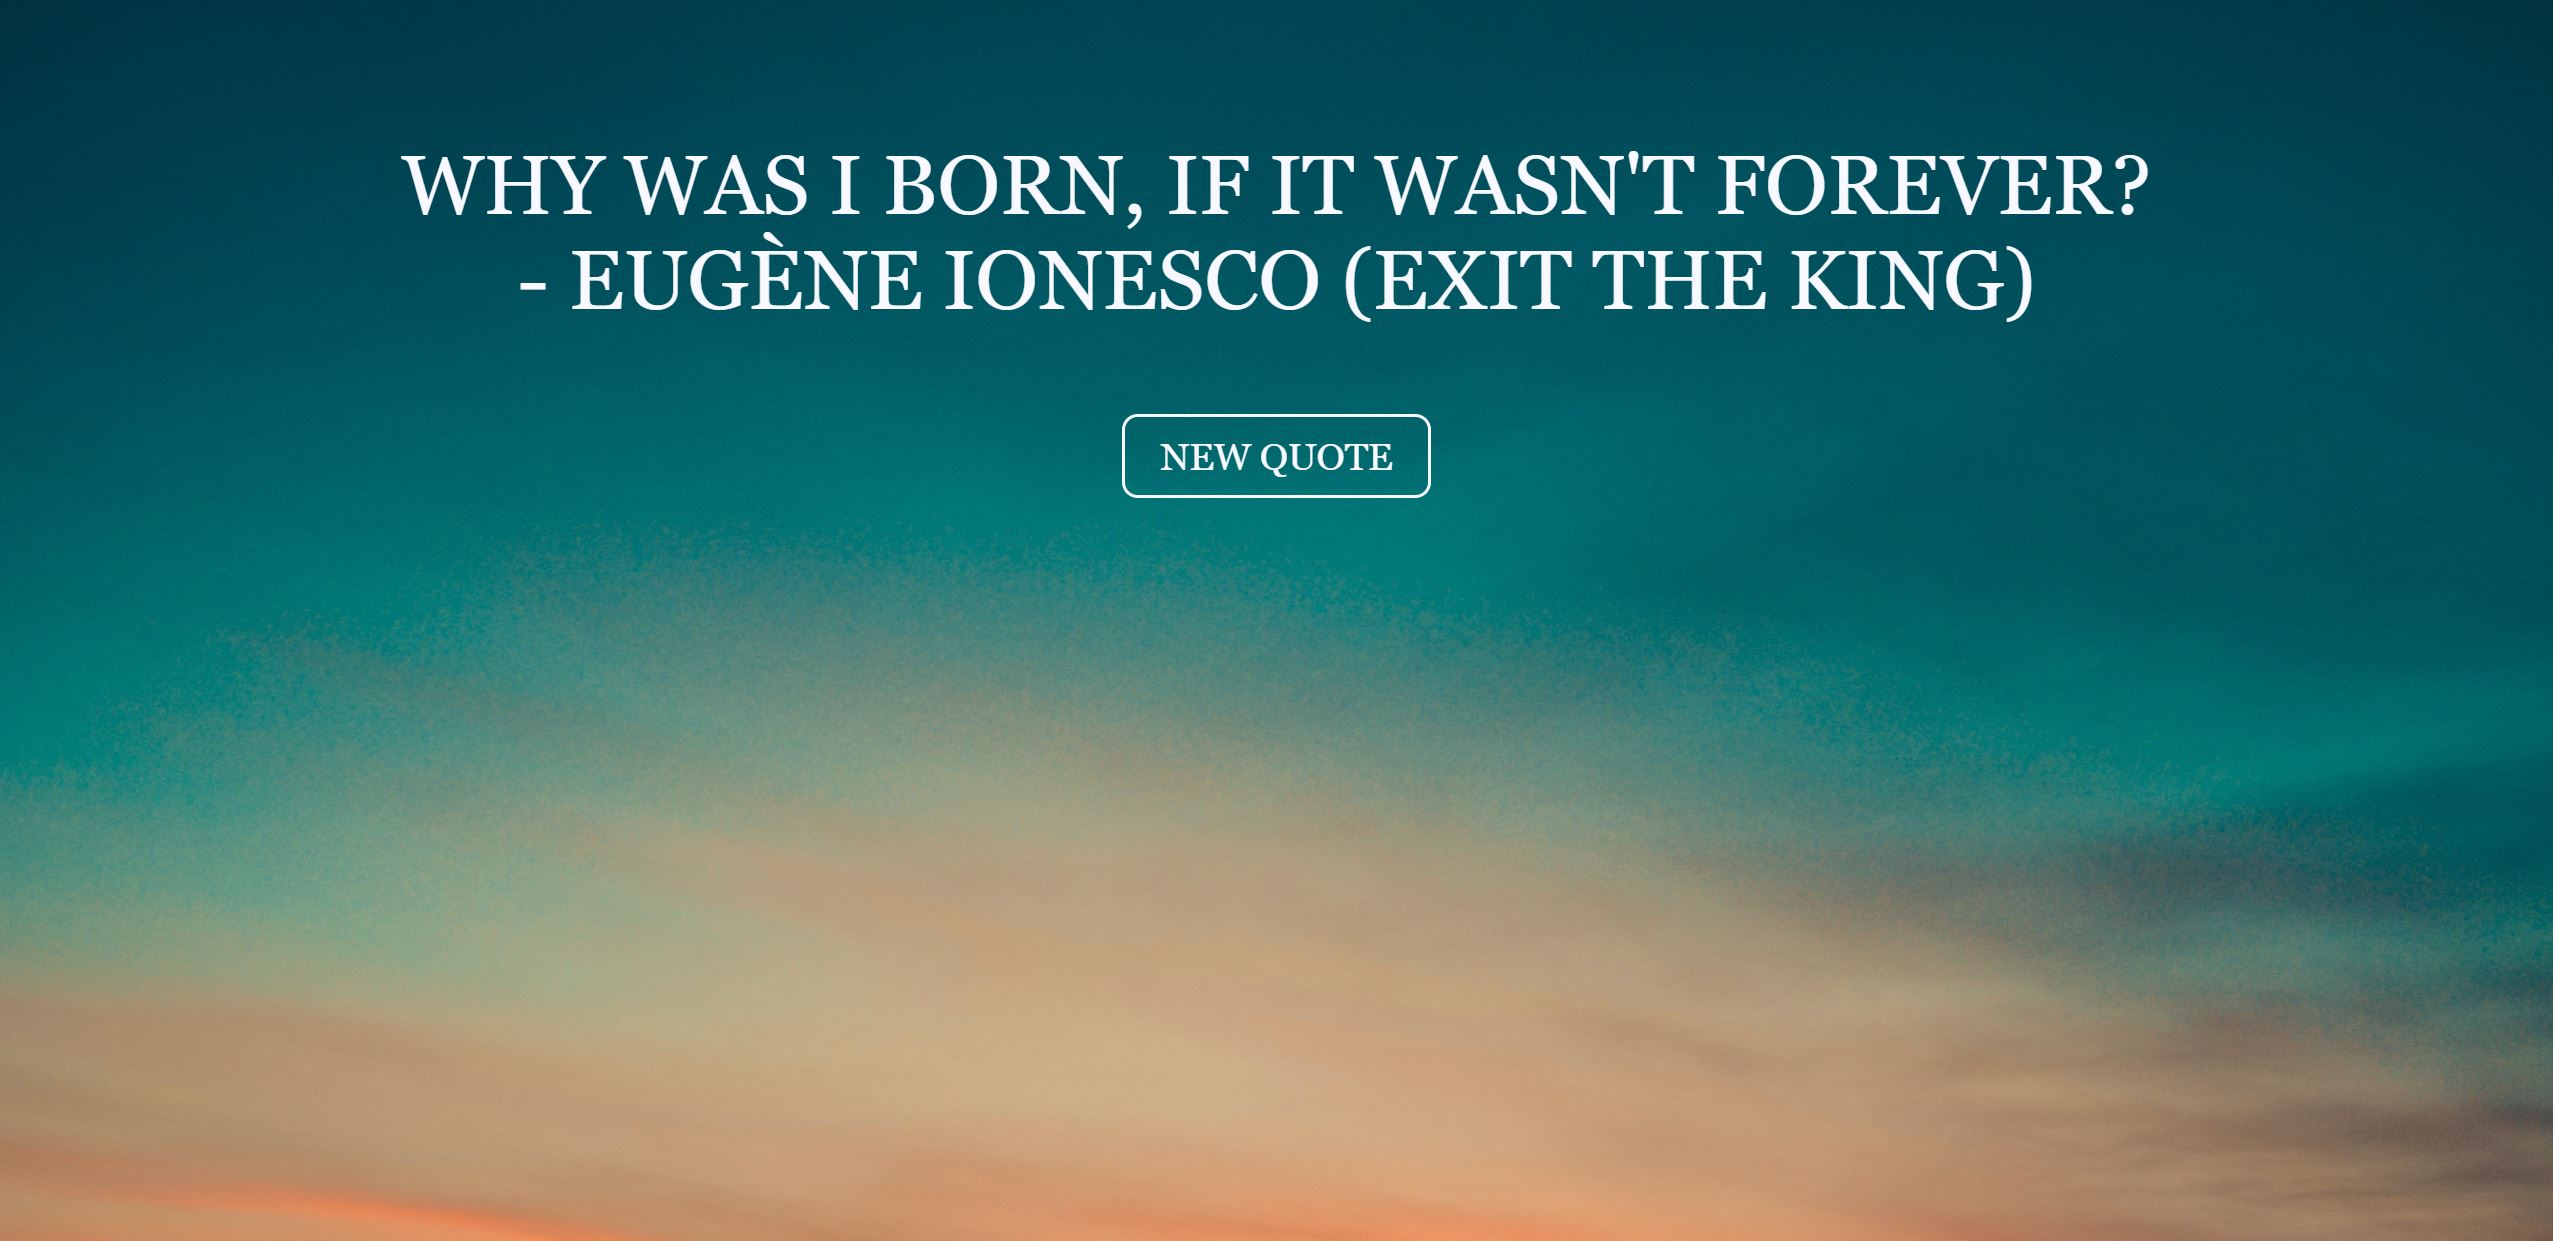
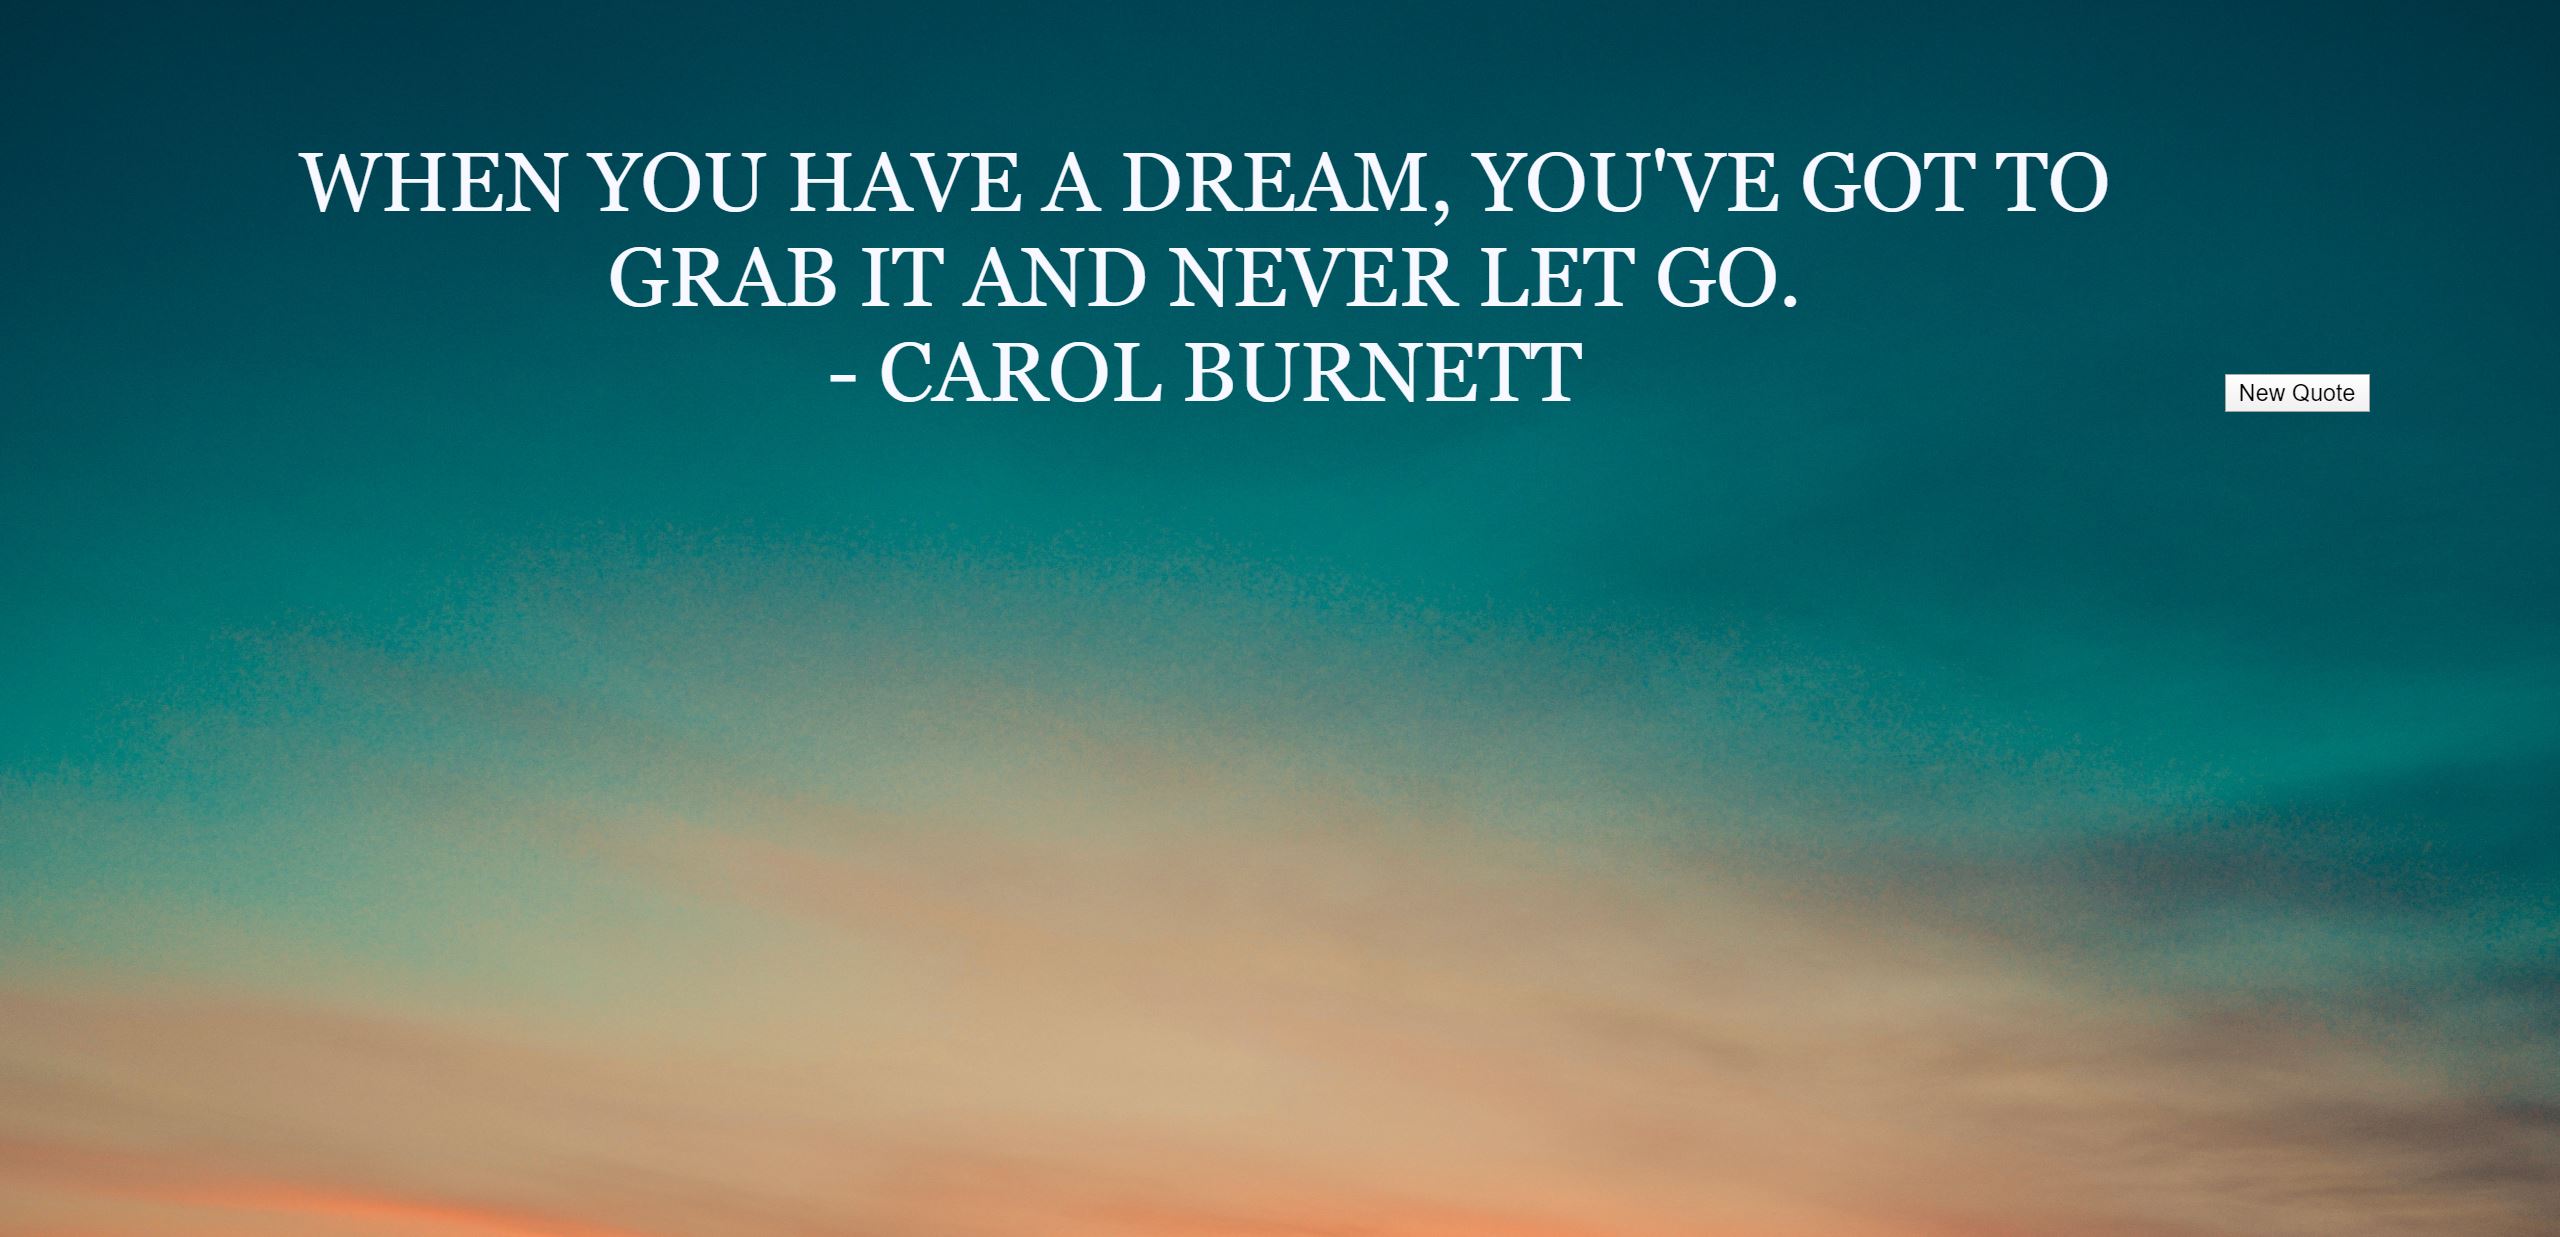 Web page with designed text.
One thing that's out of place is the button; we want the button to be beneath the quote; how can we accomplish this?
Designing Button
Since we know we will later be adding a second button to change the background, we should add a container so we can move both buttons. Let's do so in HTML:
<!DOCTYPE html>
<html>

<head>
	<title>Quote Generator</title>
	<link rel="stylesheet" href="style.css">
</head>

<body>

	<script src="javascript.js"></script>
	<body onload="getQuote()">
	<div id="retrievedQuote">
	</div>

	<div class="container">
		<button onclick="getQuote()">New Quote</button>
	</div>
</body>

</html>
 Web page with a wrapped button.
Ok now the button is where it should be; by wrapping it in a div tag, it is assumed to be displayed with a block style, meaning it will break the flow of the page and thus the button (which is wrapped by the div tag) will appear on a new line.
We can modify the properties of the container in style.css.
.container {
	padding-top: 50px;
}
A class is referenced with a period; the difference between a class and an id is that a class can be reused for multiple elements. We added some padding between the button and the quote.
Now let's design our button in CSS:
button {
	font-family: "Cinzel Decorative", Georgia, serif;
	font-size: 135%;
	font-weight: 400;
	color: #f8f8ff;
	text-transform: uppercase;
	text-decoration: none;
	border: solid #f8f8ff;
	padding: 10px 20px;
	border-radius: 9px;
	transition: all 0.5s;
	background-color: transparent;
}
In this case, we want many of our button properties to be similar to that of our quote text.
font-weight allows you to set how thick or thin the text characters should be; it can be defined with descriptors such as 'bold' and 'normal'; in this case we just want it to be normal so we set it to 400.
text-decoration allows you to add extra properties to your text, such as underlines and strikethroughs; in this case, we will leave it out.
border allows you to change the properties of your content's border; in this case we are using a border with a solid line that's in the same colour as our text.
padding specifies the padding of the button (the space between the text and the border of the button); you may have noticed that unlike our text and container, where we only specified the top padding, we can use short-hand to express multiple paddings; in this case we are setting our top/bottom padding to 10px and our left/right padding to 20px.
border-radius adds rounded corners to our button; the degree of "roundness" can be specified; in this case we don't want it too round.
transition controls how smoothly you want changes to property values to show up (more on this later); we want our transition buffer to be visible but not too slow.
background-color sets the colour properties of the button; in this case we want our button to be transparent.
Button Design Finishing Touches
WARNING
You may have noticed that while your button now looks very nice, it doesn't feel as satisfying clicking it. Nothing changes about the button when you hover over or click it.
We'll add some more button design CSS to fix this:
button:hover {
	color: #66a8d9;
	border: solid #66a8d9;
	cursor: pointer;
}
This CSS block addresses the hover pseudo class; it affects what happens when your mouse hovers over the button. In this case the design of the button changes a little and your cursor becomes a pointer. This is where the transition property comes into play; the changes specified by button:hover will take place over 0.5 seconds.
WARNING
Another issue which you may have noticed is that everytime you click a button, there's a visible box around the button.
We can get rid of this with the following code:
button:focus {
	outline: none;
	box-shadow: none;
}
This CSS block addresses the focus pseudo class; it affects what happens an element is targeted by a mouse or keyboard. In our case we just want to remove the visible highlight box.
 Web page with a designed button.
Ok! Now we're talking! Our website looks much more professional. Let's get on with the last major component: another button which allows you to change the background image.
TIP
Here are some very creative button designs to get you inspired for your next project.
Altering Web Page Design with jQuery
Overview of jQuery
In this part we will be using jQuery; which is a library designed to simplify JavaScript DOM manipulations. A library is a package software which allows you to use functionalities which are not included in the core JavaScript language.
WARNING
I am only using jQuery to illustrate what it's like to use a JavaScript library. Typically you wouldn't use both JavaScript and jQuery as they both accomplish the same things. There are also newer (and arguably better) JavaScript libraries such as React; I would recommend reading up on the pros and cons of different JavaScript libraries before deciding on one to learn and use for your own personal projects.
Linking jQuery and HTML
We first need to add the below code to the head section of our HTML file:
<script src="https://ajax.googleapis.com/ajax/libs/jquery/3.4.1/jquery.min.js"></script>
This code lets your browser know where to access the jQuery library. You can also download the library and link it locally, but typically linking it online is easier. Make sure this link comes before the link to the javascript.js file or jQuery will not work.
Adding New Button
Let's take a step back and think about what we want to accomplish. We want the user to be able to click another button and change the background picture. First we need to add in another button:
<div class="container">
	<button onclick="getQuote()">New Quote</button>
	<button id="getBackground">New Background</button>
</div>
Our container class should now look like this; we will give our new button the id getBackground.
TIP
Whenever you are naming things when programming; you should always try to find a name which is relevant to what the thing you're naming is trying to do.
 Web page with a two buttons.
Notice how the new button is automatically designed because we completed the design for all buttons in CSS.
Building Functionality Between jQuery and CSS
Now we need to add functionality to the new button in javascript.js.
// jQuery for backgrounds
$(document).ready(function() {


});
You can often tell that code is written for jQuery due to the $. It's good practice to wrap all jQuery instructions with the above snippet; this basically says do not execute anything until the DOM is ready.
Let's think about what we want to do; every time we click the button, we want the background to change.
First we should store the names of all our background images as strings in an array called backgroundImg:
// jQuery for backgrounds
$(document).ready(function() {

	var backgroundImg = [
	    'images/background1.jpg',
	    'images/background2.jpg',
	    'images/background3.jpg',
	    'images/background4.jpg',
	    'images/background5.jpg',
	    'images/background6.jpg',
	    'images/background7.jpg',
	    'images/background8.jpg',
	    'images/background9.jpg',
	    'images/background10.jpg',
	    'images/background11.jpg',
	    'images/background12.jpg'
	];

});
The above step is similar to what we did for our quotes. We now can access the string containing the name of each background image by indexing the array backgroundImg.
This time we don't want a random number, because due to there being so few background images, it's very likely to get two of the same background images in a row. This time, we want the indices to cycle through.
var clickCount = 0;

// every time you click
var index = clickCount % backgroundImg.length;
clickCount++;
We can see that the clickCount starts at 0 and every time we click we increment the clickCount variable by one. We make the index the current clickCount modulo the length of the backgroundImg array. The modulo function can be thought of as the remainder function (what's left over after dividing evenly by the length of backgroundImg); thus index can only take on values between 0 and the length of backgroundImg minus one.
Now we need to figure out how to check whether the button has been clicked:
var clickCount = 0;

// every time you click
$("#getBackground").on('click', function(){
	var index = clickCount % backgroundImg.length;
	clickCount++;
})
Now every time we click the button with id equal to 'getBackground', we set the variable index to the next index value (if the index value is already the max, then it reverts to 0) and we increment our clickCount by one.
Now we actually have to get our design to change when we click the button:
var clickCount = 0;

// every time you click
$("#getBackground").on('click', function(){
	var index = clickCount % backgroundImg.length;
	$('body').css('background', 'url(' + backgroundImg[index] + ')' + 'no-repeat');
	$('body').css('background-size', 'cover');
	$('body').css('background-attachment', 'fixed');
	clickCount++;
})
What happens now is that every time someone clicks the button; our index increments and we "add" instruction to the CSS file to change the background image. The three statements in the format of $('body').css(...); allows us to add properties to the CSS block for the body tag; in our case, we are adding properties which will allow us to change the background image.
The final code in javascript.js should look like this:
// array of quotes
var quotes = [
'Do or do not ... there is no try. <br>- Yoda (Star Wars)',
'At some point in life, the world\'s beauty becomes enough. <br>- Toni Morrison',
'To a mind that is still the whole universe surrenders. <br>- Lao Tzu',
'Sleep is good, he said, and books are better. <br>- George R. R. Martin',
'If you look at what you have in life, you\'ll always have more. <br>- Oprah Winfrey',
'Why was I born, if it wasn\'t forever? <br>- Eugène Ionesco (Exit the King)',
'Do not let circumstances control you. You change your circumstances. <br>- Jackie Chan',
'When you have a dream, you\'ve got to grab it and never let go. <br>- Carol Burnett'
]
// generate a random quote
function getQuote() {
var rand = Math.floor(Math.random() * (quotes.length));
document.getElementById('retrievedQuote').innerHTML = quotes[rand];
}
// jQuery for backgrounds
$(document).ready(function() {
var backgroundImg = [
'images/background1.jpg',
'images/background2.jpg',
'images/background3.jpg',
'images/background4.jpg',
'images/background5.jpg',
'images/background6.jpg',
'images/background7.jpg',
'images/background8.jpg',
'images/background9.jpg',
'images/background10.jpg',
'images/background11.jpg',
'images/background12.jpg'
];
var clickCount = 0;
// every time you click
$("#getBackground").on('click', function(){
var index = clickCount % backgroundImg.length;
$('body').css('background', 'url(' + backgroundImg[index] + ')' + 'no-repeat');
$('body').css('background-size', 'cover');
$('body').css('background-attachment', 'fixed');
clickCount++;
})
});
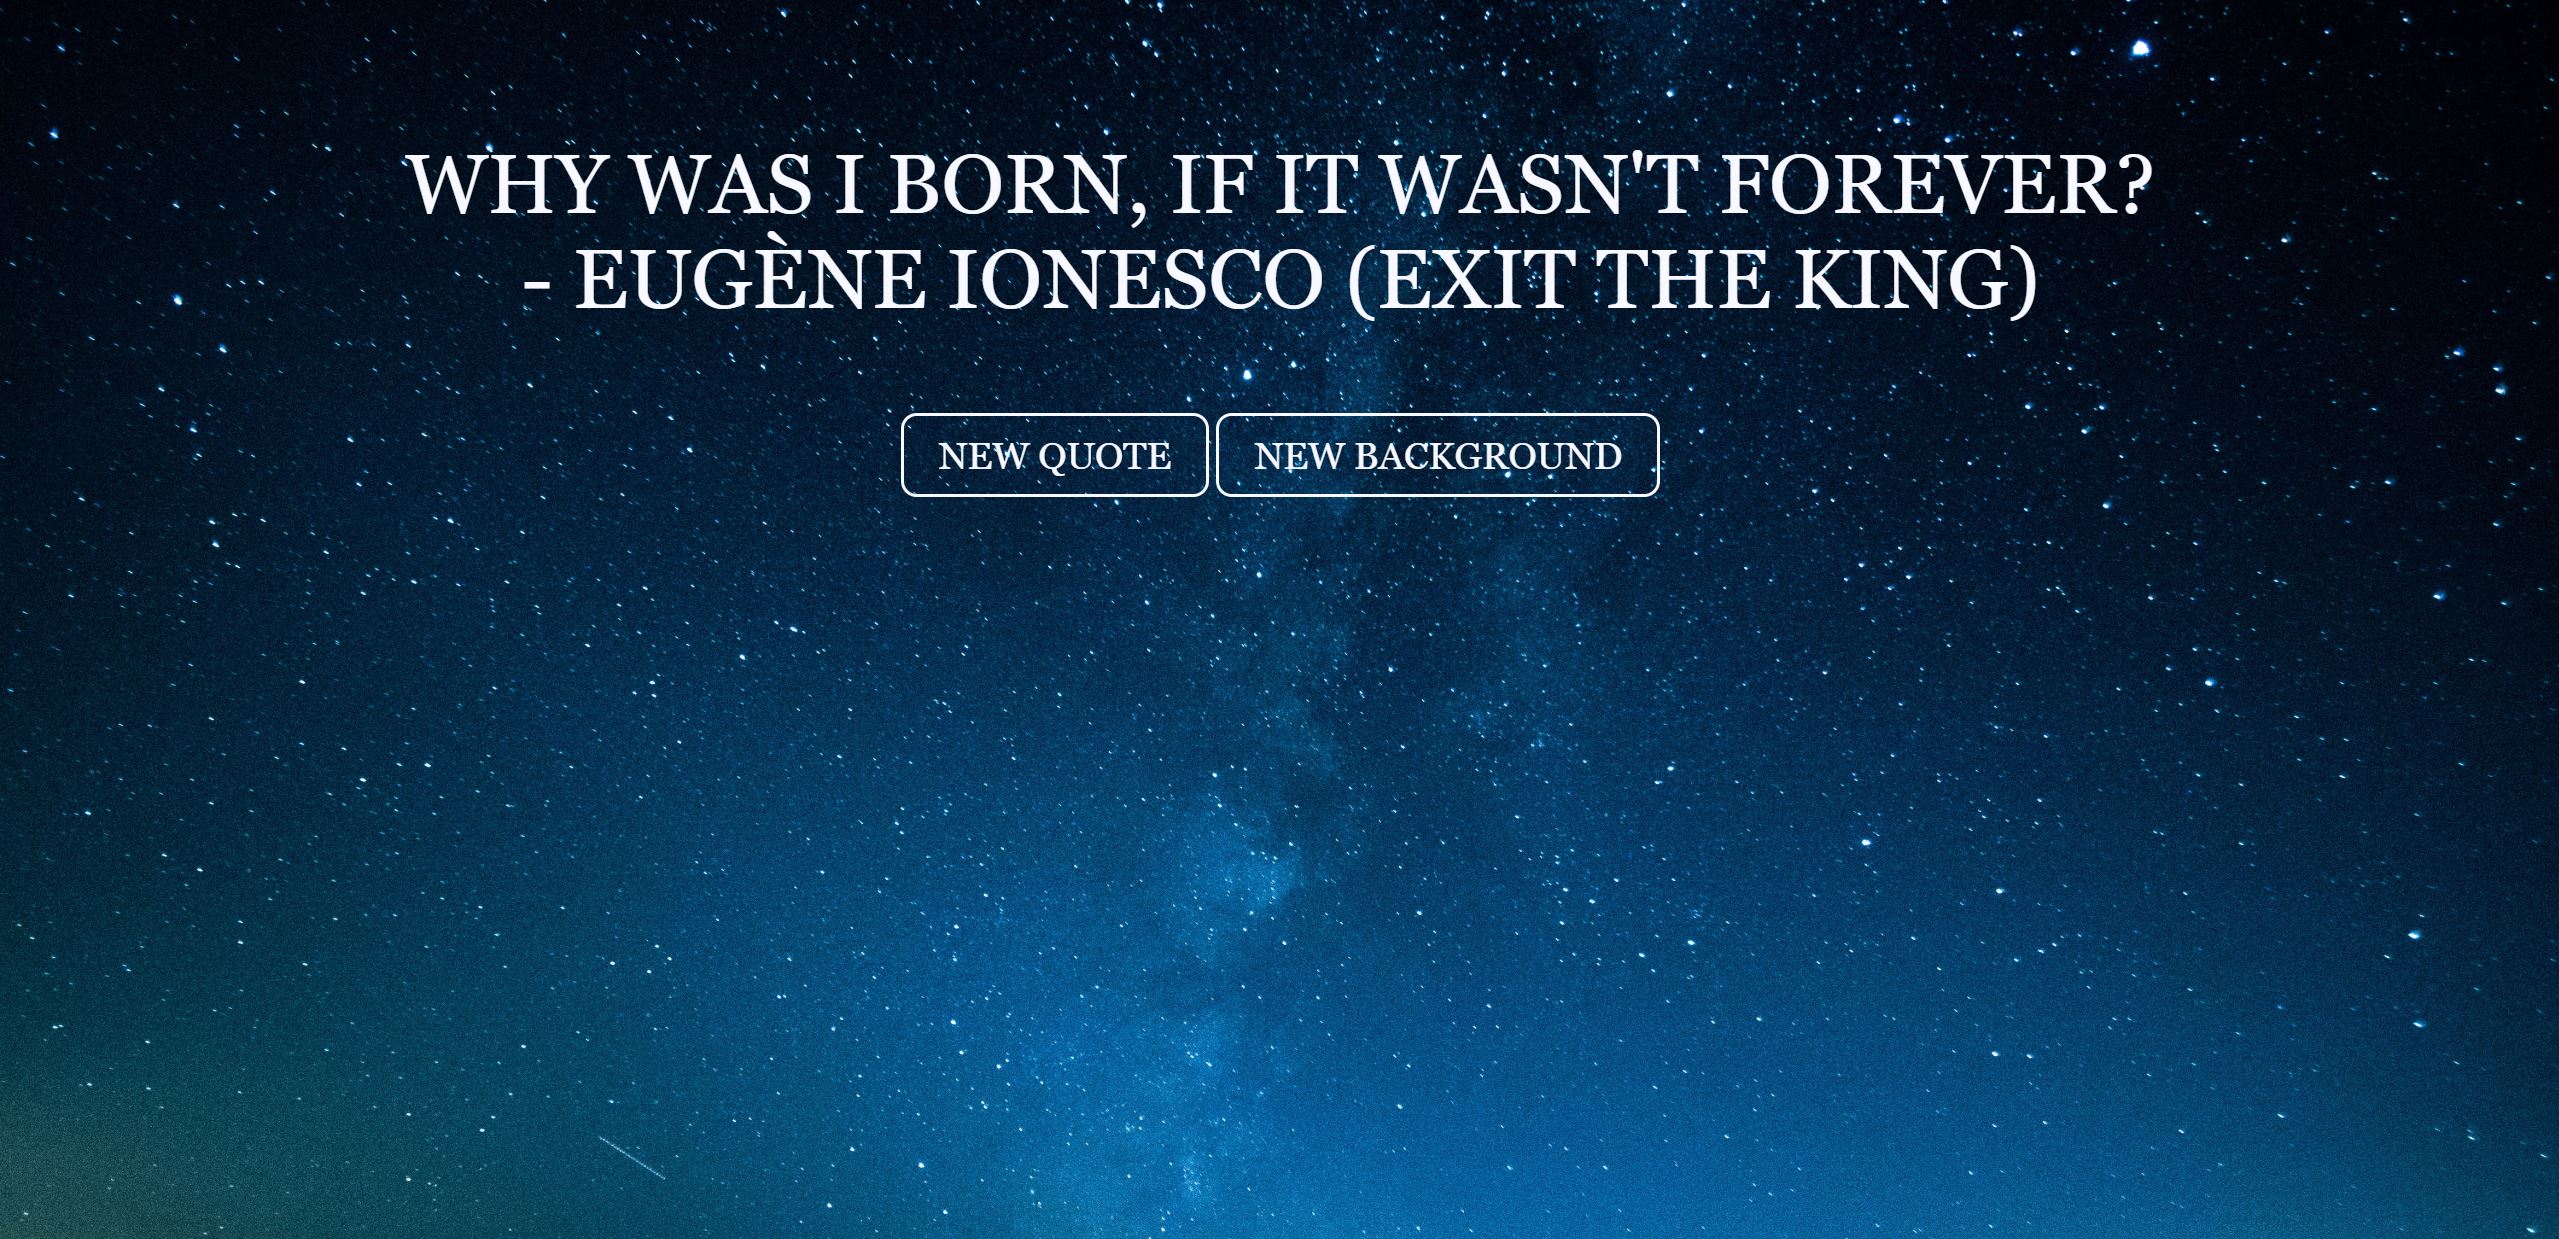 Web page with the background changed.
Now we can cycle through all of our backgrounds by clicking the New Background button.
TIP
Test all of your backgrounds images; some images are more effective than others.
We have now finished all of the main functionalities of our web page. There are just some small details we can add.
Project Finishing Touches
Adding Favicon
You may have noticed that many websites have a small icon on the tab of the browser. This is called a favicon; we can add one for our site. Find some clipart or small picture that you like and save it to the images folder. Add the following code snippet in your head HTML tag in index.html:
<link rel="shortcut icon" type="image/x-icon" href="images/Cogs.png"/>
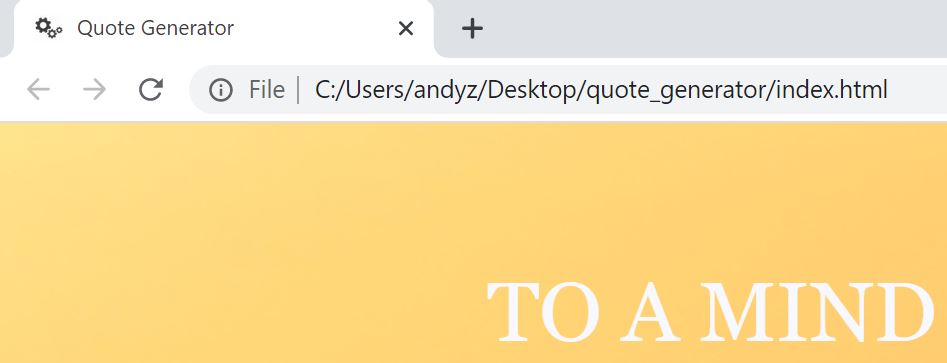 Web page with favicon.
Our page's favicon is now changed.
TIP
You should use .ico, .png, or .gif image files for your favicon. Some other image file types, such as .jpg, might not work for all browsers.
Dynamically Resizing Web Page With Media Queries
Nowadays, in addition to computers, people can access your website on various devices of different sizes, such as mobile phones and tablets. We need to ensure that our website can adapt when being viewed from devices with various screen sizes.
We can do this with media queries. To get started, it's good form to add the following code snippet to your head tag in index.html:
<meta name="viewport" content="width=device-width, initial-scale=1">
A <meta> viewport gives the browser instructions on how to change the page's dimensions and scaling. We set the width of the page to the width of the device and we set the zoom level to 100% when someone is viewing the page.
Your final index.html file should look like this:
<!DOCTYPE html>
<html>

<head>
	<title>Quote Generator</title>
	<link rel="stylesheet" href="style.css">
	<link rel="shortcut icon" type="image/x-icon" href="images/Cogs.png"/>
</head>

<body>
	<script src="https://ajax.googleapis.com/ajax/libs/jquery/3.4.1/jquery.min.js"></script>
	<script src="javascript.js"></script>

	<body onload="getQuote()">

	<div id="retrievedQuote">
	</div>

	<div class="container">
		<button onclick="getQuote()">New Quote</button>
		<button id="getBackground">New Background</button>
	</div>
</body>

</html>
We then add media queries to style.css:
@media only screen and (max-width: 1000px) {
    button {
    	font-size: 75%;
    	padding: 2.5px 5px;
		border-radius: 4.5px;
	}

	#retrievedQuote {
		padding-top: 20%;
	  	font-size: 1.5em;
		text-transform: uppercase;
		max-width: 80%;
		display: inline-block;
	}
}
@media queries allow you to create breakpoints to modify CSS elements; in this case, when the screen becomes narrower than 1000px, style properties from both the button and the quote text are changed. In this case both the button and the text become smaller.
 Web page with media query.
TIP
While we only have one breakpoint in our project; it's usually a good idea to have multiple to finetune your web page on various devices. For common breakpoints check out this tutorial on media queries.
Both the button and the text both became smaller to better fit on a narrower screen.
Your final style.css file should look like this:
body {
	color: #f8f8ff;
	background: url('images/background12.jpg') no-repeat;
	background-size: cover;
	text-align: center;
	background-attachment: fixed;
}

#retrievedQuote {
	padding-top: 5%;
  	font-size: 3em;
	font-family: "Cinzel Decorative", Georgia, serif;
	text-transform: uppercase;
	max-width: 80%;
	display: inline-block;
}

.container {
	padding-top: 50px;
}

button {
	font-family: "Cinzel Decorative", Georgia, serif;
	font-size: 135%;
	font-weight: 400;
	color: #f8f8ff;
	text-transform: uppercase;
	text-decoration: none;
	border: solid #f8f8ff;
	padding: 10px 20px;
	border-radius: 9px;
	transition: all 0.5s;
	background-color: transparent;
}

button:hover {
	color: #66a8d9;
	border: solid #66a8d9;
	cursor: pointer;
}

button:focus {
	outline: none;
	box-shadow: none;
}

@media only screen and (max-width: 1000px) {
    button {
    	font-size: 75%;
    	padding: 2.5px 5px;
		border-radius: 4.5px;
	}

	#retrievedQuote {
		padding-top: 20%;
	  	font-size: 1.5em;
		text-transform: uppercase;
		max-width: 80%;
		display: inline-block;
	}
}
Conclusion
If you have made it this far, congratulation, you have just finished your first web project! I hope you've enjoyed learning about effecctive web design and building your first website. If you want to download the website click here; if you want to see the website in action click here.
In our journey we covered fundamental web development concepts such as:
- fundamental HTML layout
- building functionality in HTML with JavaScript
- CSS styling
- building functionality in CSS with jQuery
I think you'll find in your programming journey that web design is often a trial and error process; you'll have to try many layouts and properties before you find something that truly works. You'll also find that for all programming, the beauty is in the details. Small things like having a back-up font or accounting for different screen sizes can often make or break your website (or at least the aesthetics of your website). Having the patience and foresight to envision multiple scenarios is crucial for building robust apps. I hope this tutorial has helped you grasp the fundamental skills and theory behind building websites.
What's Next?
You should build your own website! While I'm by no means an expert web developer, I've come to realize that the well of web development knowledge is deep and the technologies change fast. The best way to learn about the most up-to-date and the most effective methods of building a website is to build sites yourselves. You'll be forced to learn the tips and tricks of the trade and you'll iteratively improve; there is also a pleathora of resources available online to help you along the way.
You should learn about the other stages of web development, such as how to publish your website and how to build the pipings and behind-the-scenes technologies supporting websites.
You should not restrict yourself to web development; try other things, like learning about algorithms and data science. By learning about various fields and techniques; you'll become a much better programmer overall and will be much more versatile in solving problems.
Congratulations once more, and goodluck on your project!